To add, update or delete DNS records, you first need to login to Easy Hosting Control. (How do I login?)
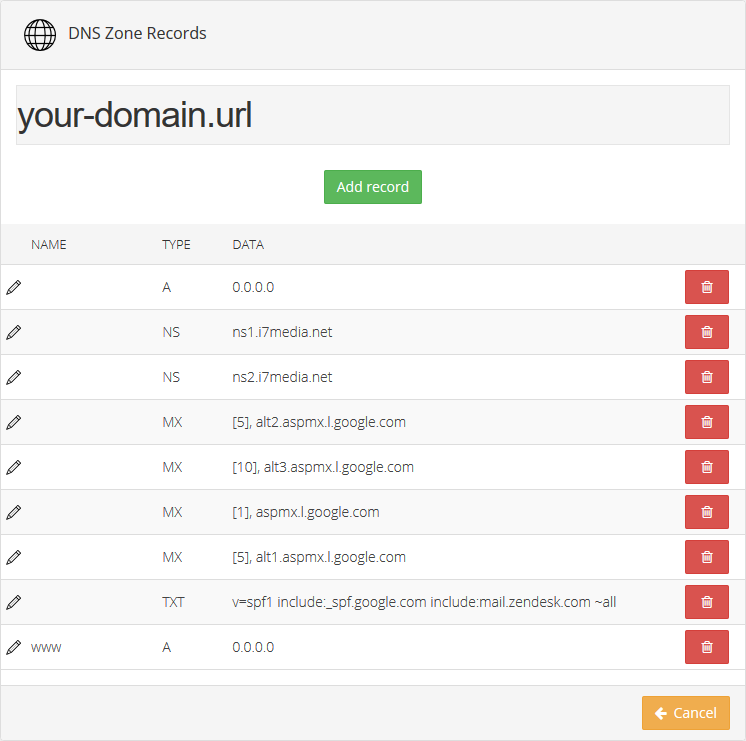
Once logged in, go to the Domains and select your domain, then click the "Edit DNS zone records" button. If you do not see this button, click the "Enable DNS" button and then the "Edit DNS zone records" button will appear. Be sure you have set your Name Servers to ns1.i7media.net and ns2.i7media.net at your domain registrar.
The DNS Zone Records screen shows all of your existing DNS records and allows you to add and delete records.

Adding a DNS Record
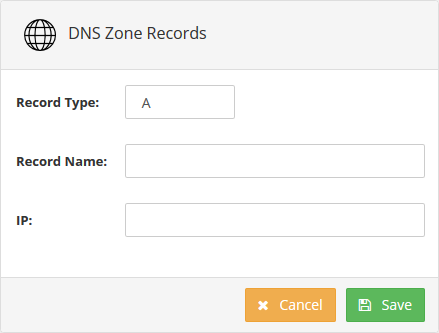
- Click the "Add Record" button.

- Select a Record Type. Available types are A, AAAA, MX, NS, TXT, CNAME, SRV. Changing the record type will give you different options for the record. For instance, setting the record type to MX (Mail Exchange) will present the Record Data and MX Priority fields. See this article for an in-depth review of the DNS record types.
- Click Save after entering your record information.

